Leica VT1200S Manuel d'utilisateur
Naviguer en ligne ou télécharger Manuel d'utilisateur pour Capteurs de température et d'humidité Leica VT1200S. Leica VT1200S User's Manual Manuel d'utilisatio
- Page / 58
- Table des matières
- MARQUE LIVRES
- Leica VT1200 1
- Leica VT1200 S 1
- Contents 4
- 1. Important Notes 5
- 2. Safety 6
- Ambient conditions: 9
- Electrical data: 9
- Dimensions: 9
- Blades for the blade holder 11
- 3. Instrument Characteristics 12
- 4. Installation 14
- 4. Installation 15
- Switch on the 19
- 1 = on 0 = off 19
- 5.2.3 Blade Method 20
- Blade forward 26
- Blade back 26
- 5.4.3 Preparing a Specimen 33
- 5.4.5 Inserting the Blade 35
- 6. Operating the VibroCheck 37
- 6. Operating the VibroCheck 38
- 7.2 Replacing the Main Fuse 46
- 8. Cleaning and Maintenance 47
- 9.1.1 Buffer Tray 49
- 9.1.2 Specimen Plate 50
- 9.1.3 VibroCheck 51
- 9.1.5 Microscope, Complete 52
- 9.1.6 Magnifier, Complete 52
- 9.1.4 Blades 52
- 9.1.9 Cyanoacrylate Adhesive 55
- 9.1.11 Foot Switch 55
- EC declaration of Conformity 56
- 11. Warranty and Service 57
Résumé du contenu
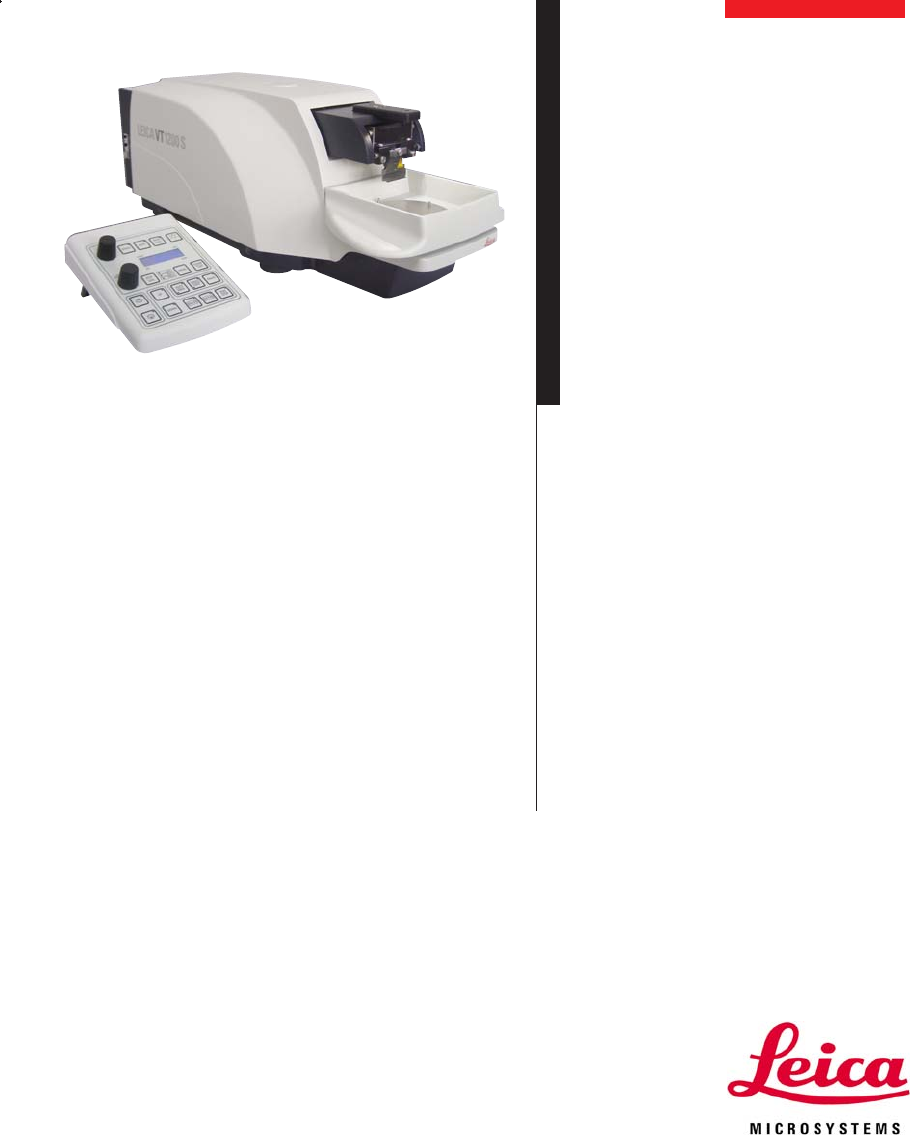
Operating ManualLeica VT1200 and VT1200SV1.1 English – 05/2007Always keep this manual with the instrument.Read carefully before working with the instr
10Operating Manual V1.1 – 05/2007Fig. 8,ControlpanelmVT1200SmmBlade holder3. Instrument Characteristics3.2 General Overview of the VT1200/VT1200SCut
11Leica VT1200 and VT1200 S – MicrotomeSpecimen platefor specimens of1 cm in heightfor specimens of2 cm in heightDirectional3. Instrument Characteri
12Operating Manual V1.1 – 05/20073. Instrument CharacteristicsLED for feed rateLED on, for enabledamplitude adjustmentSets the current specimenpositio
13Leica VT1200 and VT1200 S – MicrotomeSets the blade feed rate.Select the values usingsetting dial 1.Sets the amplitude.Select the valuesusing setti
14Operating Manual V1.1 – 05/20074. Installation4.1 Standard Scope of Delivery for the VT1200VT1200 basic instrument ...
15Leica VT1200 and VT1200 S – Microtome4.1.1 Standard Scope of Delivery for the VT1200SVT1200S basic instrument ...
16Operating Manual V1.1 – 05/20074.2 Packing and Setting up the Instrument4. Installation1. Have 2 people grab the instrument by the transport handles
17Leica VT1200 and VT1200 S – Microtome4. Installation4.3 Before Commissioning the Instrument11Fig. 13Once the instrument is in its final location,
18Operating Manual V1.1 – 05/20075. Working with the Instrument5.1 Description of the Typical ApplicationThe Leica VT1200 / VT1200S is a microtome wit
19Leica VT1200 and VT1200 S – Microtome5.2 Control Elements on the VT1200 Control PanelCaution: To practice the key functions, always make sure there
20Operating Manual V1.1 – 05/20075. Working with the Instrument5.2.2 Fine-adjusting the Blade-to-Specimen proximity and Feeding to the Section Thickne
21Leica VT1200 and VT1200 S – Microtome5.2.4 Selecting the Sectioning ParametersSPEED: Blade feed rate – upper display – LED mm/s. The desired blade
22Operating Manual V1.1 – 05/20075.3 Control Element on the Control Panel of the VT1200 SThe Leica VT1200S is a fully automatic microtome with a vibra
23Leica VT1200 and VT1200 S – Microtome5. Working with the InstrumentKey/setting dial semiautomatic sectioning modeIn semiautomatic sectioning mode,
24Operating Manual V1.1 – 05/20075. Working with the InstrumentKey/setting dial semiautomatic sectioning modeThe blade feed rate can be adjustedfrom 0
25Leica VT1200 and VT1200 S – MicrotomeKey/setting dial semiautomatic sectioning modeThe rotary knob for moving thespecimen receptacle vertically can
26Operating Manual V1.1 – 05/2007semiautomatic sectioning modeIf the DOWN key is pressed a sec-ond time while the specimenreceptacle is moving downwar
27Leica VT1200 and VT1200 S – Microtome5. Working with the InstrumentKey/setting dialGeneral informationabout the cutting win-dowsemiautomatic secti
28Operating Manual V1.1 – 05/2007Key/setting dial semiautomatic sectioning modeOnly single stroke (SINGLE) is pos-sible. If an attempt is made to swit
29Leica VT1200 and VT1200 S – MicrotomeKey/setting dial semiautomatic sectioning modePress the MENU key.8 sets of user parameters can besaved;Current
3Leica VT1200 and VT1200 S – MicrotomePublished by:Leica Microsystems Nussloch GmbHHeidelberger Str. 17 – 19D-69226 NusslochGermanyPhone: +49 62 24 1
30Operating Manual V1.1 – 05/20075. Working with the Instrumentsemiautomatic sectioning mode➞ Rotary knob 2Mode: Choice between AUTO andMAN with rotar
31Leica VT1200 and VT1200 S – Microtome5. Working with the Instrumentsemiautomatic sectioning mode➞ Rotary knob 2The feed rate (FOR/REV) for the&quo
32Operating Manual V1.1 – 05/20075. Working with the Instrument5.4 Installing the Accessories25.4.1 Installing the Ice Bath and Buffer Tray• A lever (
33Leica VT1200 and VT1200 S – Microtome5. Working with the Instrument5.4.3 Preparing a Specimen• Fix the specimen to the specimen plate usingthe cya
34Operating Manual V1.1 – 05/20075. Working with the Instrument5.4.4 Installing and Removing the Blade HolderFig. 19• Before the blade holder can be r
35Leica VT1200 and VT1200 S – Microtome5. Working with the Instrument5.4.5 Inserting the Blade• Insert a size 3 Allen key sideways into theblade hol
36Operating Manual V1.1 – 05/20075.5 Routine Daily Maintenance and Switching off the Instrument – VT1200/VT1200SAfter all daily procedures have been f
37Leica VT1200 and VT1200 S – Microtome6.1 Using the VibroCheck with the VT1200Prior to assembly, the dovetail guide (3) is broughtdown to the lowest
38Operating Manual V1.1 – 05/2007When LED on VC is green and LED in RUN/STOP is yellow, the blade starts to vibrate withthe amplitude set. Speed = 0,
39Leica VT1200 and VT1200 S – Microtome6. Operating the VibroCheckPrior to assembly, the dovetail guide (3) is broughtdown to the lowest position us
4Operating Manual V1.1 – 05/2007Contents1. Important Notes ...
40Operating Manual V1.1 – 05/2007The deviation of the height amplitude is shownon the display in μm (1). This value can be ei-ther positive or negativ
41Leica VT1200/VT1200S – Microtome7. Malfunctions: Meanings and TroubleshootingError/INF No. Error Troubleshooting Remark- Wrong control panel(VT1200
42Operating Manual V 1.0 – 10/20067. Malfunctions: Meanings and TroubleshootingError/INF No. Error Troubleshooting Remark- "Bottom" limit sw
43Leica VT1200/VT1200S – MicrotomeError/INF No. Error Troubleshooting Remark- Control board (C1/backpanel) and keyboard(C2) have differentsoftware ver
44Operating Manual V 1.0 – 10/2006Error/INF No. Error Troubleshooting Remark7. Malfunctions: Meanings and Troubleshooting- Basic calibration oflight b
45Leica VT1200/VT1200S – Microtome7. Malfunctions: Meanings and TroubleshootingIf the 1000 hour limit is exceeded while the interment is in normal op
46Operating Manual V1.1 – 05/20077.2 Replacing the Main FuseCaution:Always unplug the power supply before replacing the fuses!• Remove the fuse housin
47Leica VT1200 and VT1200 S – MicrotomeCleaning the bladesAlways wipe the blade from the back of the blade (sapphire blade)to the cutting edge. NEVER
48Operating Manual V1.1 – 05/20079. Ordering Information for Optional Accessories, Consumables and Spare PartsIce bath ...
49Leica VT1200 and VT1200 S – Microtome9.1 Extension Accessories for Standard Specimens9. Ordering Information for Optional Accessories, Consumables
5Leica VT1200 and VT1200 S – MicrotomeInstrument model:All information provided in this manual appliesonly to the VT1200 and VT1200S instruments de-s
50Operating Manual V1.1 – 05/20079. Ordering Information for Optional Accessories, Consumables and Spare PartsBuffer tray, double-walled, incl. integr
51Leica VT1200 and VT1200 S – MicrotomeFig. 43Specimen plate, directional• Inc. swivel handle• Inc. marks for angling specimen 5° and 10°Order no. 04
52Operating Manual V1.1 – 05/2007a9.1.5 Microscope, Complete9.1.6 Magnifier, Complete- Microscope support- S6 Stereozoom microscope- 2 eyepieces, 10x2
53Leica VT1200 and VT1200 S – Microtome9.1.7 Installing the Magnifier Support or Microscope SupportFig. 49234• First, remove the cover (3) from the b
54Operating Manual V1.1 – 05/20079.1.8 Fiber-optic Illumination, Cold Light SourceFiber-optic illumination• The fiber-optic illumination is installed
55Leica VT1200 and VT1200 S – Microtome9.1.9 Cyanoacrylate Adhesive9.1.11 Foot Switch9.1.10 Minichiller (circulating cooler)Insert the foot switch in
10. EC Declaration of ConformityWe herewith declare, in exclusive responsibility, that the instrumentLeica VT1200/VT1200S – Microtome with vibrating b
57Leica VT1200 and VT1200 S – MicrotomeWarrantyLeica Microsystems Nussloch GmbH guarantees that the contractual prod-uct delivered has been subjected
58Operating Manual V1.1 – 05/2007Notes
6Operating Manual V1.1 – 05/20072. SafetyThis Operating Manual contains important instructions and informationregarding the operational safety and mai
7Leica VT1200 and VT1200 S – MicrotomeCaution: Extremely sharp blades pose risk of injury when touched!Fresh tissue poses risk of infection!Fire haza
8Operating Manual V1.1 – 05/20073. Instrument Characteristics3.1 Technical Data for the VT1200General data:Cutting frequency (± 10 %) ...
9Leica VT1200 and VT1200 S – Microtome3.1.1 Technical Data for the VT1200 SGeneral data:Cutting frequency (± 10 %): .........
© 2020, manymanuals.fr. Tous droits réservés | 1.583 s |
 Manymanuals.com
 Manymanuals.de
 Manymanuals.fr
 Manymanuals.it
 Manymanuals.pl
 Manymanuals.cz
 Manymanuals.es
 Manymanuals-pt.com
Commentaires sur ces manuels